Get a Free BJJ Course — Limited Time Only!
 
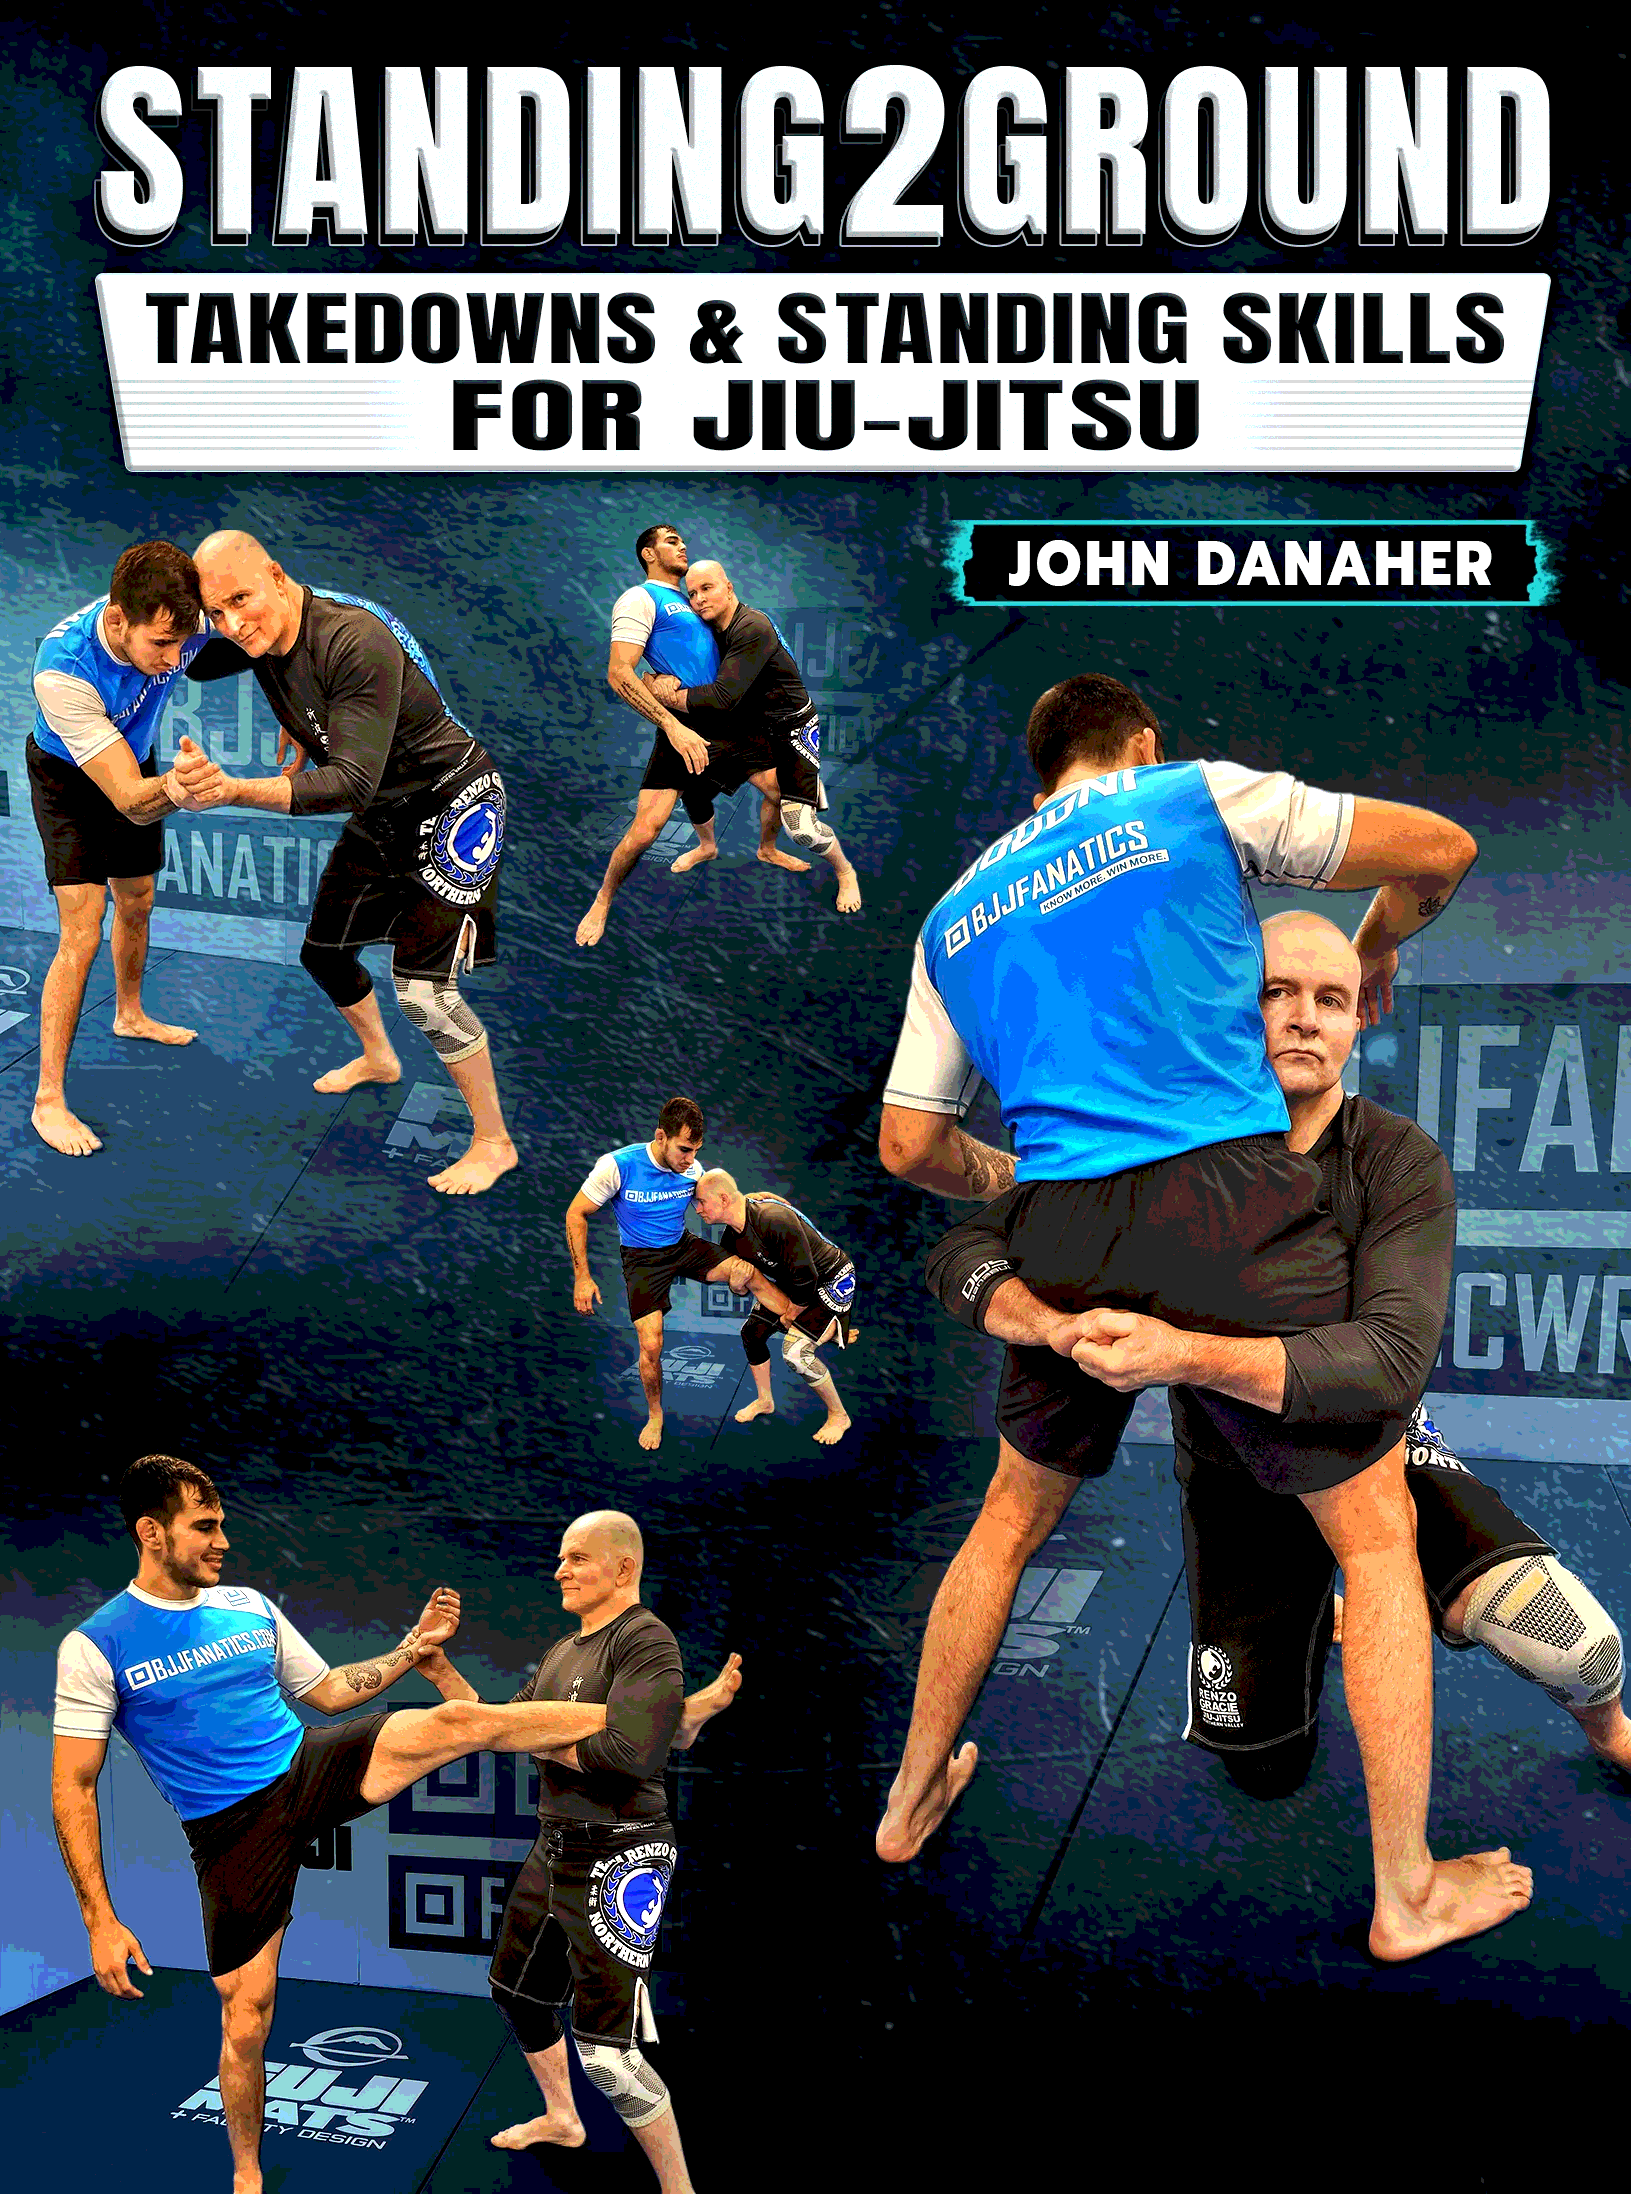
Standing2Ground: Takedowns & Standing Skills For Jiu Jitsu by John Danaher — ByteByU

Standing2Ground: Takedowns & Standing Skills For Jiu Jitsu by John Danaher

Master the art of takedowns and standing control tailored for Jiu Jitsu.
Foundations of BJJ cover
  • Develop A Standing Grappling Game That Is Specifically Designed By One Of The World’s Greatest Grappling Minds, As Professor John Danaher Shows You The System For Jiu Jitsu Takedowns That His Athletes Use To Dominate With Submission Wrestling Technique
  • Master the principles and concepts that will define how you approach the standing position, with John breaking down how grappling takedowns must be different and how to adjust
  • John Danaher is one of the world’s greatest grappling coaches, with championship students like Gordon Ryan, Georges St. Pierre, Garry Tonon, and more learning these systems from him at Team New Wave
  • Use snap downs, hand fighting, and motion to start setting up takedowns that will optimize your chances of scoring and controlling from top position
  • Shoot to the legs with John’s explanation of double legs, single legs, and more ways to set up and finish lower body offense
  • Attack your opponent’s feet with ashi waza that John explains can set up more takedowns, including foot sweeps, ouchi garis, and more
  • Learn why grappling needs to approach takedowns differently, with breakdowns on the needs and limitations of grappling rulesets and how to start using a new style to work from the feet
  • Know more. Win more.
Buy Now: $197 $24

Course Content

Volume 01

12 Lessons
Intro
0:00 - 7:30
The 4 Most Important Ideas of This Video – Wherever Possible, Avoid Carrying Your Opponent's Weight
7:30 - 33:31
Focus on the Easier Takedowns First
33:31 - 38:28
Hand Fight With Direction
38:28 - 42:51
In Jiu Jitsu, the Aftermath of the Takedown is as Important as the Takedown Itself
42:51 - 52:06
Standing Preliminaries – Stance: Defensive Responsibility
52:06 - 1:01:16
Stance: The Beginnings of Offense
1:01:16 - 1:11:12
Stance: Vision
1:11:12 - 1:14:32
Same Side and Opposite Side Stances
1:14:32 - 1:18:43
Motion
1:18:43 - 1:24:52
Contact and Grip – First Contact
1:24:52 - 1:35:46
Angle Within Your Opponent's Elbows
1:35:46 +

Volume 02

11 Lessons
9 Important Principles of Hand Fighting – Head Position
0:00 - 12:53
The Theory of Indirect Gripping
12:53 - 19:54
Inside VS Outside Control
19:54 - 27:47
Grip – Contract – Move
27:47 - 34:08
Push Pull Principles
34:08 - 42:45
The Law of Elbow Extension
42:45 - 51:34
Avoid Symmetrical Grips
51:34 - 1:00:41
The Reset Principle
1:00:41 - 1:06:58
Hand Fighting With Purpose
1:06:58 - 1:14:55
Breaking Your Opponent's Stance: The 3 Paths to Dominance
1:14:55 - 1:20:57
A Theory of Dominant Position on the Feet
1:20:57 - 1:35:10
Preliminaries – Putting It All Together
1:35:10 +

Volume 03

20 Lessons
Special study: The Snap Down – The Jab of Standing Grappling
0:00 - 11:07
Mechanics of the Snapdown
11:07 - 24:54
The Most Important Snapdowns – Rear Hand Snap
24:54 - 26:26
Lead Hand Snap
26:26 - 27:20
Multi Snap
27:20 - 28:23
Head Pass Snap
28:23 - 29:28
Collar and Tricep Snap
29:28 - 31:36
Collar and Forearm Snap
31:36 - 33:14
Overtie Snap
33:14 - 35:29
Single and Double Tricep Snap
35:29 - 38:02
Pump Snap
38:02 - 40:18
Underhook Snap
40:18 - 42:15
2 on 1 Snap
42:15 - 44:43
Kouchi Snap
44:43 - 48:09
Takedowns – Front & Rear Takedowns
48:09 - 49:51
Front Takedowns – 4 Step Pattern Phase 1: Setup
49:51 - 53:26
Phase 2: Catch
53:26 - 1:01:59
Phase 3: Structure
1:01:59 - 1:09:37
Phase 4: Completion
1:09:37 +

Volume 04

13 Lessons
Double Leg Takedown – Advantages & Disadvantages
0:00 - 3:52
The Way Double Legs are Typically Taught is Wrong Headed
3:52 - 6:52
Reverse Overback Double Leg
6:52 - 11:22
Front Headlock Double Leg
11:22 - 17:49
Short Double Leg
17:49 - 27:15
Pull Double Leg
27:15 - 33:23
Snap Double
33:23 - 37:45
Post Double
37:45 - 44:58
Arm Drag Double
44:58 - 49:49
Misdirection Double
49:49 - 53:45
Shooting From Distance
53:45 - 1:05:42
Fake Reach Setup for Outside Shots
1:05:42 - 1:09:51
Double Knee Slide Method
1:09:51 +

Volume 05

12 Lessons
Elbow Deep Double Leg – GSP Mechanics
0:00 - 9:16
Setups
9:16 - 13:37
Corkscrew Finish
13:37 - 16:17
Flare Across Finish
16:17 - 18:59
Ear to Back Finish
18:59 - 21:21
Opponent Underhooks / Te Guruma
21:21 - 26:36
High Double Leg
26:36 - 33:44
One Handed Snatch
33:44 - 38:25
Single Leg Takedown Mechanics
38:25 - 46:52
High Single Leg Mechanics
46:52 - 50:38
Single Leg Finishing Strategies
50:38 - 54:29
Attacking Front vs Back Leg
54:29 +

Volume 06

11 Lessons
Single Leg Finishes With One Leg – Kneeling Cutback
0:00 - 5:16
Standing Cutback
5:16 - 8:31
Tight Waist Cutback
8:31 - 14:27
Running the Pipe / Dump
14:27 - 21:00
Thigh Pry
21:00 - 24:11
Foot Trip
24:11 - 28:05
Back Side Finish
28:05 - 34:59
Single Leg to Double Leg – Far Side Finish
34:59 - 40:16
Near Side Finish
40:16 - 43:45
Barzegar Finish
43:45 - 49:50
Drop Double / Back Side Double
49:50 +

Volume 07

10 Lessons
High Leg Finishes – De Ashi Harai
0:00 - 5:13
Knee Pressure
5:13 - 10:47
Harai Goshi
10:47 - 13:07
Tree Topping
13:07 - 18:15
Thigh Pry
18:15 - 21:13
Outside High Leg
21:13 - 26:01
Troubleshooting Single Leg – Limp Leg (Part 1)
26:01 - 33:03
Limp Leg (Part 2)
33:03 - 36:27
Problem 2: Base
36:27 - 41:21
Problem 3: Maintaining Stance
41:21 +

Volume 08

12 Lessons
Body Lock Takedowns – Philosophy & Mechanics
0:00 - 5:17
Getting to Body Locks in BJJ & Grappling
5:17 - 9:03
Mechanics of Body Locking
9:03 - 16:16
Hip in Front – Power Twist (Uki Goshi) Parts 1 & 2
16:16 - 27:15
Hips Behind – Three Step Finish
27:15 - 32:55
The Two Step Method
32:55 - 40:49
Rotational Method
40:49 - 45:49
Lifting Method
45:49 - 50:23
Placido & Giancarlo Drill Body Locks
50:23 - 58:21
Knee Sweep Method
58:21 - 1:02:04
Slide By – Third Attack: Taking the Back
1:02:04 +

Volume 09

13 Lessons
Knee Pick (Kuchiki Daoshi) – Leg Tackles & Knee Picks
0:00 - 7:36
Mechanics of the Knee Pick
7:36 - 19:54
Failed Leg Tackle to Knee Pick
19:54 - 24:05
Direct Attacks From an Underhook
24:05 - 31:53
Ankle Pick (Kibisu Gaeshi) Mechanics & Tactics
31:53 - 42:03
Front Headlock to Ankle Pick Variations
42:03 - 48:19
Double Pits Ankle Pick
48:19 - 56:59
Collar Tie Ankle Pick
56:59 - 1:04:51
Overtie Ankle Pick
1:04:51 - 1:07:03
Underhook Ankle Pick & Drill
1:07:03 - 1:19:01
Floor Post Ankle Pick
1:19:01 +

Volume 10

16 Lessons
Ashi-Waza Takedowns – Kouchi Gari & Arm Drag Kouchi
0:00 - 9:51
Kouchi Gari Hand Assist
9:51 - 16:02
Kouchi From Overhook & Underhook
16:02 - 21:33
Ouchi Gari Mechanics
21:33 - 25:44
Double Triceps Ouchi Gari
25:44 - 35:10
Collar & Elbow Ouchi Gari
35:10 - 37:37
Placido & Giancarlo Drill Ouchi Gari
37:37 - 46:04
De Ashi Harai Mechanics & Variations
46:04 - 57:06
Overhook & Two-on-One De Ashi
57:06 - 1:23:17
Sesae Tsuri Komi Ashi Mechanics
1:23:17 - 1:29:58
Underhook Sasae & Collartie
1:29:58 - 1:37:23
Scoring Under Jiu-Jitsu Rules
1:37:23 - 1:46:02
Scoring in a Competitive BJJ Situation
1:46:02 +

What Will You Learn?

???? Standing2Ground: Takedowns & Standing Skills For Jiu Jitsu
A comprehensive stand-up system tailored for jiu jitsu practitioners—focusing on takedowns, grip control, entries, and transitions into the ground game.

???? Course Overview

This instructional transforms the stand-up game for grapplers by blending judo, wrestling, and BJJ principles into a seamless approach. John Danaher offers a methodical training plan that teaches how to initiate takedowns with efficiency, maintain posture, and create immediate paths to positional advantage on the mat.

???? What You’ll Learn

  • Grips, Posture & Break-Fighting: Collar-and-sleeve, overhooks, lapel grips, wrist controls; posture maintenance; grip-fighting to set up entries.
  • Takedown Entry Systems: Arm drags, snap-downs, level changes; foot sweeps & traps; single/double-leg combos refined for BJJ pacing.
  • Throws & Transition Mechanics: Judo throws (uchi-mata, seoi-nage, trips) adjusted for grappling; seamless ground control transitions.
  • Flow & Live Drills: Progressive partner drills for entry, elevation, mat flow; sparring demos showing takedown into pressure control.

???? Who This Course Is For

  • Grapplers wanting to add stand-up effectiveness to their BJJ arsenal.
  • Those preferring strategic, position-aware takedowns over pure wrestling explosiveness.
  • Anyone needing entries that transition smoothly into guard or top control.
  • Gi, no-gi, or hybrid practitioners seeking a well-rounded stand-up system.

✅ Key Benefits

  • Systematic Stand-Up Strategy: Step-by-step grip-to-takedown execution with posture emphasis.
  • Workout-Friendly Transitions: Designed for rolling—stand up, takedown, finish on top.
  • Low-Risk, High-Reward Movements: Efficient entries minimizing scrambles and pull-backs.
  • Practical Real-World Use: Adversarial drills and sparring scenarios reflecting true resistance.
Made on
Tilda